Column Mapping
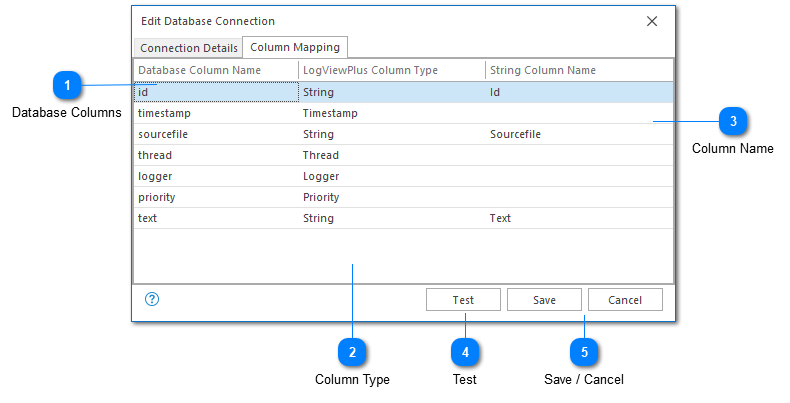
The column mapping tab is used to convert database columns into LogViewPlus columns. Mapping from a database to LogViewPlus is controlled in three columns: Database Column Name, LogViewPlus Column Type, and String Column Name.
Database Columns
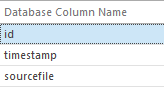
This field is auto-populated by LogViewPlus based on meta-data read from the database.
If the underlying data structure changes, you will need to reload the fields by testing your database connection. Depending on the extent of the changes to the data structure, you may need to recreate the database data source connection.
Column Type
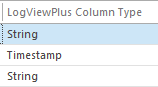
The column type field allows you to specify how the database column should be mapped in LogViewPlus. Six different LogViewPlus column types are supported as shown below:
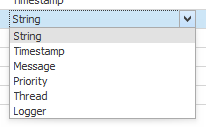
These six column types can be divided into three categories:
1. Timestamp - This is the most column type as it defines when the log entry was created. Only one timestamp column can be set - regardless of the number of date time fields used by the database table. This field is required.
Several LogViewPlus scenarios will query or order by the Timestamp column. To improve query performance, we recommend adding an index to the Timestamp column.
2. String - This catch all property allows you to map any database field that can be represented as a string. If you specify a string column type, you should provide a string column name. If a name is not provided, the field will not be visible in LogViewPlus.
3. Other - This category includes Thread, Logger, Priority and Message. These types map directly to the LogViewPlus types of the same name.
Column Name
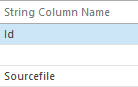
If you specify that a column should be mapped to a LogViewPlus string, you will need to specify a column name for the field here. If a name is not provided, the field will not be visible in LogViewPlus.
Test
The test command can be used to verify the currently configured database connection. To do this, a connection with the database will be established to access metadata regarding the target table.
Save / Cancel
Once you have configured your database, you can use the save command to persist your changes. Once your changes have been saved the configured database will be immediately available in the folder tree view.
Use the "Cancel" command to return to LogViewPlus without saving your changes.